Happy Easter!
Are your older children getting tired of finding the same old hard-boiled eggs? Are you sick of lots of left-over plastic Easter eggs with no where to put them? Well, here's a great way to change up your holiday and make every pre-tween, tween and pre-teen WANT to hunt eggs again! Make Cascarones!
Cascarones, or confetti eggs are an Easter tradition usually practiced in border towns and throughout the southwest. They throw the confetti eggs at celebrations, particularly at Easter. If one breaks above your head it's said to bring you good luck. (Note ABOVE your head, not cracking on your head.)
HOW TO MAKE CASCARONES:
First, you blow out the egg. If you chip out a slightly-smaller-than-dime-sized hole in the bottom of the egg, then make a small pin hole at the top, the eggs can be easily blown out.
Wash out the eggs and set them somewhere to dry. Next, I cover the small top hole with drydex (found at your local hardware store). This seals the egg and makes it easier to dye without getting liquid inside.
Dye the eggs. Again, keeping the inside as dry as possible.
Fill the eggs with confetti! You can buy confetti or, I have my children punch shapes out of construction paper or you can use colored paper in a confetti paper-shredder. Just make sure the confetti is small so you can easily get it in the egg.
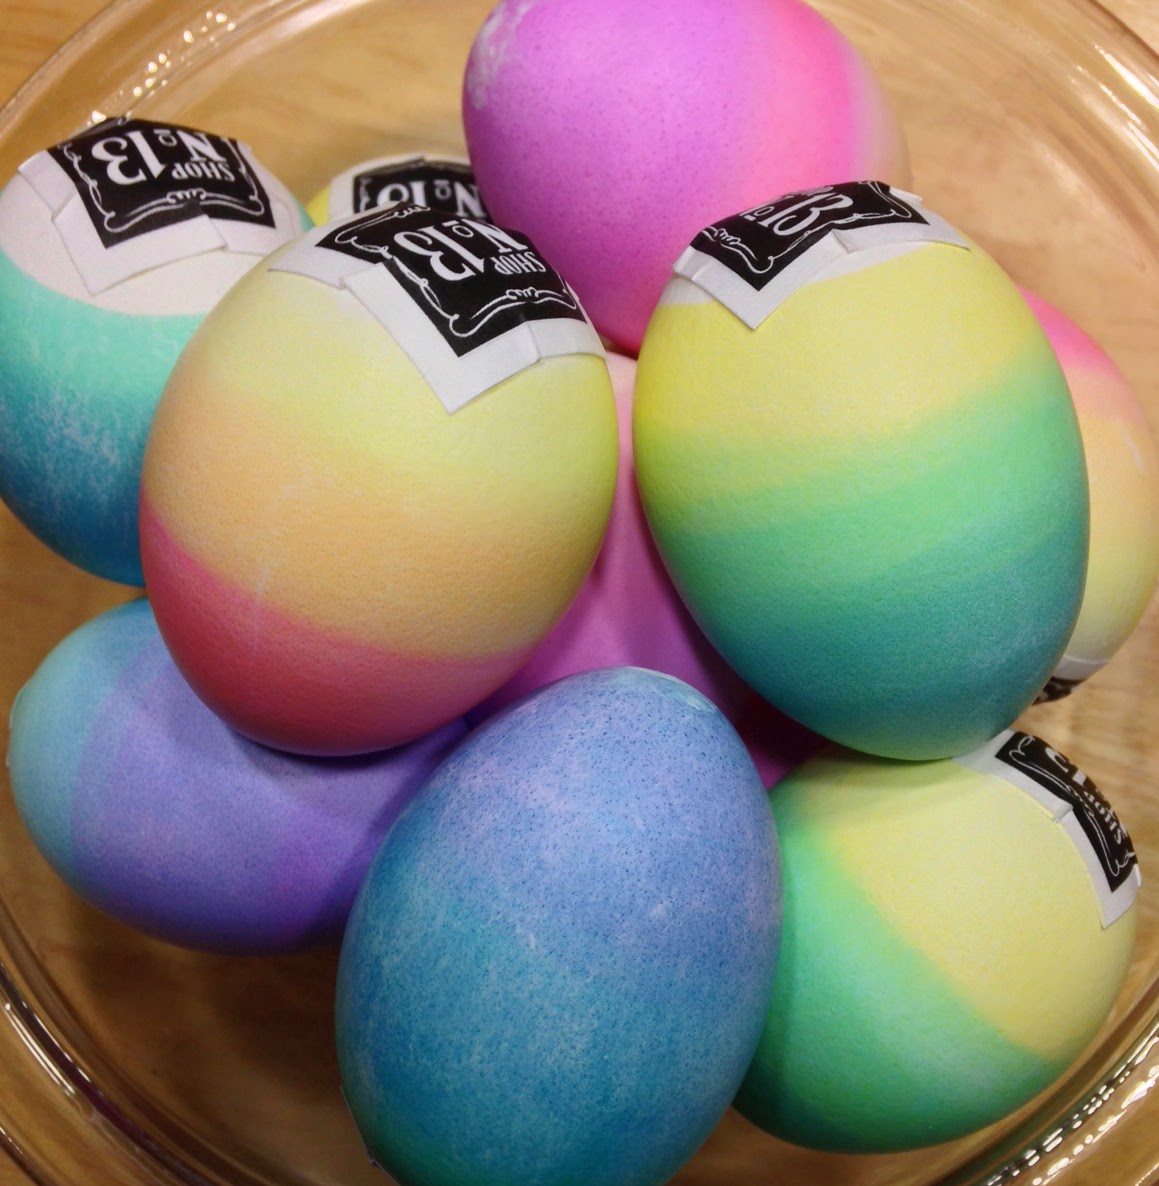
The final step is to cover the hole. Traditionally this is done with tissue paper or white glue. But I've found that Avery 5160 labels work just as well! Cut them into small squares and stick over the holes. Ours are covered with our logo.
They make a great Easter display during the entire month leading up to Easter and cutting confetti is a great way to keep the children occupied while they're finishing their winter cabin fever. These were so fun to make I may do a bunch for Cinco de Mayo!
Saturday, April 19, 2014
Wednesday, April 9, 2014
Easter Crafts: Felt Chick
Tuesday, April 8, 2014
Easter Crafts: Felt Bunny
It's Eastertime! Well, just about. It's less than 2 weeks away. For the next few days we will be sharing a craft per day until each of the items shown are covered. Well, except for the puzzle eggs. But they can be purchased here.
Today's entry is the felt bunny (see printable below). Use a blanket stitch. Begin by stitching the pattern felt onto the ears. Next, stitch the decorative stitching of the face: two french knots for the eyes, blanket stitching for the nose and simple stitches for the mouth. THEN sew the back and the two sides making sure to stitch the ears in. Stitch the tail (a small pom-pom) last.
Tuesday, April 1, 2014
Autism Awareness Day
 |
| Puzzle Key Ring available at www.shopnumber13.com |
| Puzzle Heart available at www.shopnumber13.com |
 |
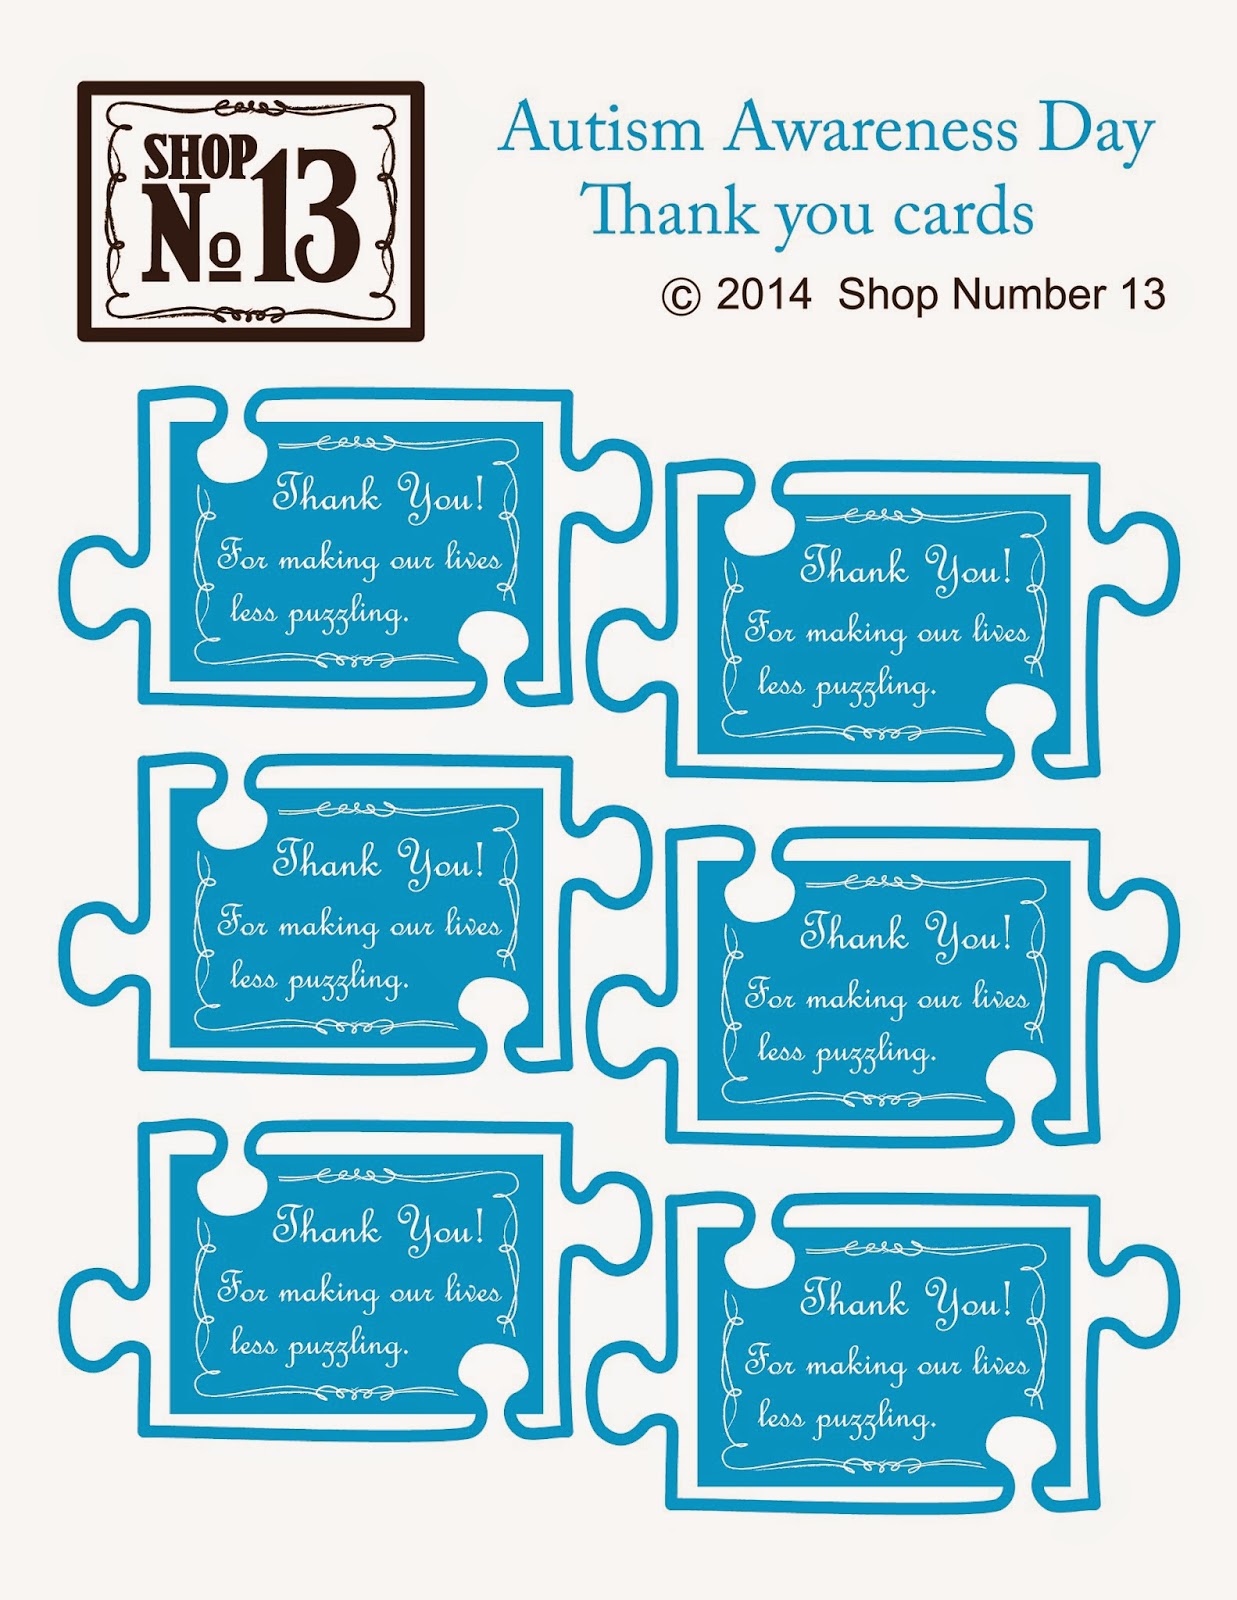
| Thank you cards printable |
Friday, March 28, 2014
How It's Made
While sawing one day, it occurred to us that many out there don't know how some of these items are made. So for today's blog post we will look at what goes into making our wooden items.
First, designs are created in a vector program and printed. They are then transferred to the wood in pencil.
Next, the shapes are cut using a scroll saw. This step can be labor intensive depending on the shapes being cut, the hardness of the wood, etc. But it definitely takes time and skill.
Next, depending on the shape being cut, it can be sanded using an oscillating sander. However, much of what we do has to be sanded by hand due to the intricacy of the shapes, e.g. puzzles.
Then we paint using non-toxic paints.
Painting raises the grain of the wood making the surfaces rough to the touch. So we sand, by hand, using 400 grit sand paper to smooth the surfaces.
Then we re-paint.
Final Product.
Monday, March 3, 2014
St. Patrick's Day Hats
Have you done this? Set a Leprechaun trap to force him to give you his gold? We haven't tried it yet in this house, but I think we might this year. So here is another Leprechaun hat to throw in the ring with all the other crafters out there. I put two versions in the pattern. The hat band, rim and top fit both the tall hat and the short one. I took pictures as I went to show how it pieces together.
What you will need:
1. Time to kill (about an hour, if that)
3. Green felt of different colors
4. Green thread or embroidery floss. (I did mine with thread.)
5. Pins, needle, sharp scissors.
6. Review the blanket stitch.
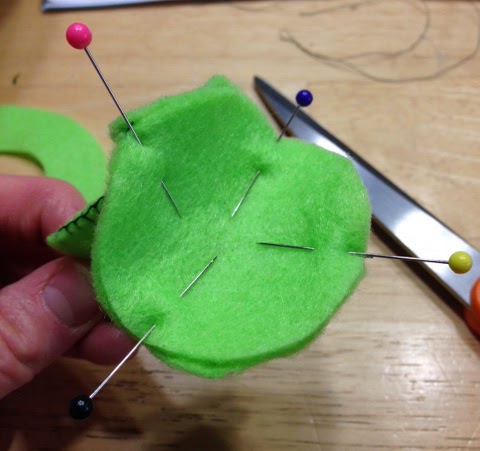
First, cut out all pieces. Then get the 2 main hat pieces you cut (that were the same) and stitch along both sides. Here, I've stitched one side and am preparing to stitch the other.
Once both sides are stitched, open it up and match the edges of the top rim to the edges of the circle. Pin in 4 equal places.
Stitch all around the edges making sure your edges always match. Then, do the same thing with the brim of the hat. If you look down to the next picture, you will see the stitching will not be on the outside of the hat, but the inside. That is okay. It will help the brim stick straight out. Pin as you did before making equal sections all around.
With the brim securely attached, you can begin to stitch the band using the applique blanket stitch technique. Match the bottom of the band to the edge of the brim and begin stitching. Then, do the other side.
With the band securely fastened, attach the clover and you're finished!
Friday, February 28, 2014
Saturday, February 1, 2014
Heart Felt Welcome
This is the blog of the creators at Shop Number 13.
Welcome!
Today's topic is Valentine's Day. It is just 2 weeks away and we have an amazing craft that is veryeasy and inexpensive to do.
Felt Heart Pockets
What you will need is white and red felt (about $0.50 per sheet and you get 3 hearts per sheet) and red and white embroidery floss (about $0.30 per skein and you'll need about 43" in length per heart to do a blanket stitch every 1/4").
Print off the pattern provided below. It's in .jpg format but the file was made for 8.5" x 11". Just be sure to "print preview" your image before printing it off. The size of the heart should be about 4".
Next you'll need to learn or review a blanket stitch. This website has the best tutorial I've found:
Cut the heart and corresponding sections to blanket stitch together. *REMEMBER: if you want to
blanket stitch a small heart or other decorative elements like the 'xoxo' heart or french knots, do that FIRST before finally blanket stitching the outside of the pocket heart.
If you don't want to MAKE these, you can contact aimee@shopnumber13.com and we may
have some at the shop we can sell you. OR, we have some great wooden heart puzzles. It's flat rate shipping so order one of each. But hurry, Valentine's Day is coming soon!
Subscribe to:
Posts (Atom)


